

After our previous Exploro RTP project by Ross Piper, it was now time for a Strada frame to get the custom treatment, and our friends at Cole Coatings Workshop in London upped the ante on this one, check it out!:
When dealing with custom frame builders, in the most part, they have a clear vision of what they want for their finish and we’re happy to oblige. With individuals and one-offs, such as this, we’re often in a position whereby we simply take a basic brief from the client and are able to explore that as we see fit… these of course are our favourite projects! The 3T Strada has already established itself as a cutting-edge design and as such has many subscribers. What the client was looking for here was not to have the loudest and most outrageous finish – which we can of course achieve – but rather to have a clean, minimal scheme that would look clearly different to an OTP factory finish. With this in mind, the plan was simply to have a single all-over colour, with a few flourishes in a second colour.

We were agreed with the customer on a grey body with gold highlights. For the grey, we opted for a Ferrari colour, ‘Canna di Fucile’, chosen because we know it to have a great metallic depth that shows a variety of dynamic shades when observed from different angles, perfect for the curves and contours of the Strada. To pair with the grey, we opted for a RAL metallic pearl gold that we tweaked a little until it was just right. It’s important to note that the RTP strictly speaking isn’t “ready to paint”, there are of course a number of preparation processes involved before we can apply colour.First stage of readying the frameset is to clean it. We use various products, chemicals, cloths, abrasives and air tools. There can be no surface imperfection, grease, fingerprints, dust etc… It’s not the most interesting part of the process!

Once clean, we bung and “hardware mask” the frame. Bunging is exactly as it sounds; we place rubber bungs anywhere we don’t want to see paint, we place bolts anywhere that has a thread to avoid product ingress and finally we use a variety of custom stencils and freehand tape masks to protect dropouts and other contact points that can’t or shouldn’t be painted. All of the masking is gently heated to ensure it holds firm and maintains a sharp edge.Next, a final check, often by a second set of eyes and then primer is mixed ready to coat the frameset. Specific priming products are varied and chosen based on a number of factors. The primer affects many of the follow up stages and how it interacts with the colours and products used. For this project, we utilised a light coloured custom mixed epoxy primer in order to have minimum build but maximum adhesion.

After a curing period of a number of days, we “key” the primer. This process involves us utilising a number of abrasives to create a uniformity in the cuts and scratches which will act as the ‘mechanical bond’ between primer and paint. Given the almost silver like properties of the Canna di Fucile, additional steps are needed to ensure no prep marks are visible as products are built up. After keying, the frame is once again cleaned, degreased and inspected. Every area that was previously masked is now re-masked in order to maintain sharp edges throughout. Colour products are mixed, the booth is prepped and we can begin applying the products. In the most part, we use PPG Deltron Basecoats for our day to day colours. After a number of coats of the grey, we threw in a little bling in the form or an all-over Gold Interstellar Pearl, imported from Tropical Glitz in Miami.

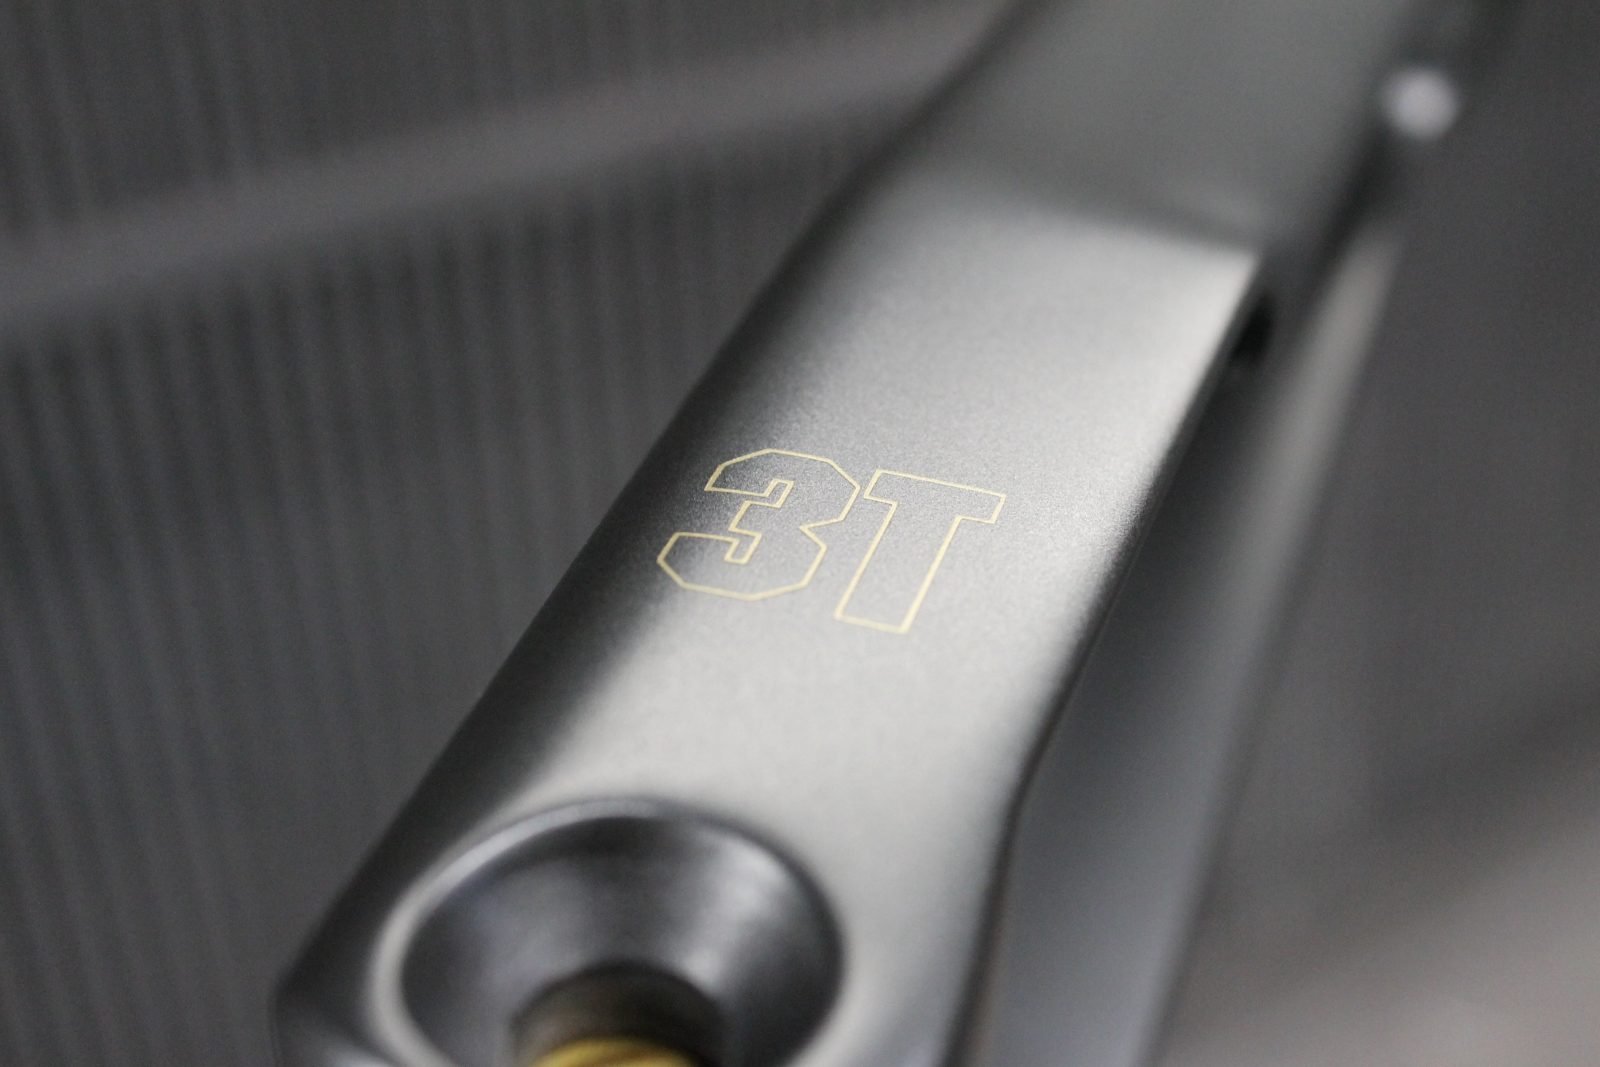
The next stage sees us apply all of the custom cut vinyl stencils for the branding and graphics.Given that this finish is somewhat minimal, we opted to add a flourish in the 3T branding by applying it in three different fashions, this time all with a smaller, airbrush for detail work rather than a larger sized spray gun which we utilise for greater coverage. First, the head tube – this features a simple, solid, one colour gold logo. The fork blades see the same logo but this time applied in a fine, outline only. Finally, the down tube saw us apply the 3T logo as a large, single colour solid BUT we added a sharp, black outline around the whole thing. More than anything else, this type of variation makes our work a little more fun! The main graphic embellishment on the bike is the interlocking geometric lines on the top tube and chain stay which break up the potentially stark grey.

Once we’re happy that all the graphics have even coverage, we remove the vinyl stencils to reveal our work and once again, we clean and degrease the bike. The final product application stage is the all important clearcoat. A good paint finish can be ruined with a bad clear. This is the stage that requires almost sterile working conditions, temperature control, full paint suits, beard covers, hair tied back… anything that can create an imperfection needs to be eliminated. Clearcoating a frameset requires the most dutiful attention to detail to ensure the coverage is full and even throughout. Whilst the clearcoat is still tacky, we gently remove any of the hardware masking in order that the clearcoat doesn’t form a film over the masks. After the first clearcoat, the bike is allowed to cure for a number of days before we then flatten back the clearcoat to apply a further “flow coat”. This gives a deep, lustrous finish that we can polish and really bring to life.
Around a week after the flow coat, we begin the polishing stages. Good detailers won’t share all of their secrets but in short, we remove any surface inclusions or ambient imperfections with ultra fine wet and dry papers, we then cut the surface of the clear with abrasives until the surface is perfectly smooth and then bring back the shine with cutting compounds, polishing pads and buffing mops. Before we hand over the bike, we’ll apply a show glaze which will differ depending on the type of finish we’ve applied. Then the bike is ready for collection and we hand it over to the client or the framebuilder for assembly. We recommend our customers wait three weeks before re-assembling their bikes to allow all of the solvents to leave the finish and avoid compromising the paint.

And sorry friends, this one is not for sale…
Check the amazing full PHOTO GALLERY of the finished bike , courtesy of Noble Wheels


